

How I make Sourdough Bread
I have been making my own sourdough bread for almost 3 years now and it really makes ordinary bread seem quite inferior. This loaf below was the very first loaf I made:

Over these past few years, I have had dozens of requests for my sourdough recipe, so here it is. There are plenty of sourdough recipes out there and confusing as to where to start as the world of sourdough can be a bit daunting, but why not take this time of isolation to do something that is a little time consuming and make your own delicious creations. The whole process takes about a day and a half but the actual hands on time is very limited.
Making sourdough had always been on my to do list, but I didn’t know where to start, how to make a starter, would it work, would it not. This was all until one of my clients gave me some of her starter and I had no choice, I had to keep it alive, so I did. I fed it, and I used it, and I fed it some more, and it is still going strong. Making your own starter will take about 1 week and here is a straight forward way to make your own starter with some helpful pics to guide you.
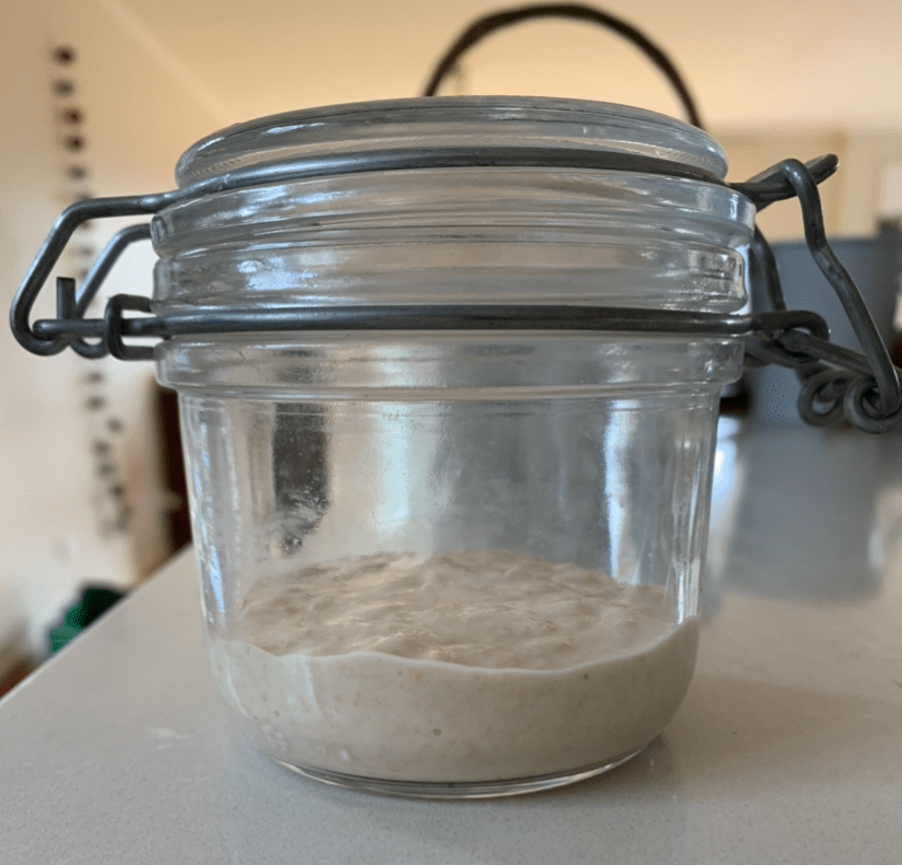
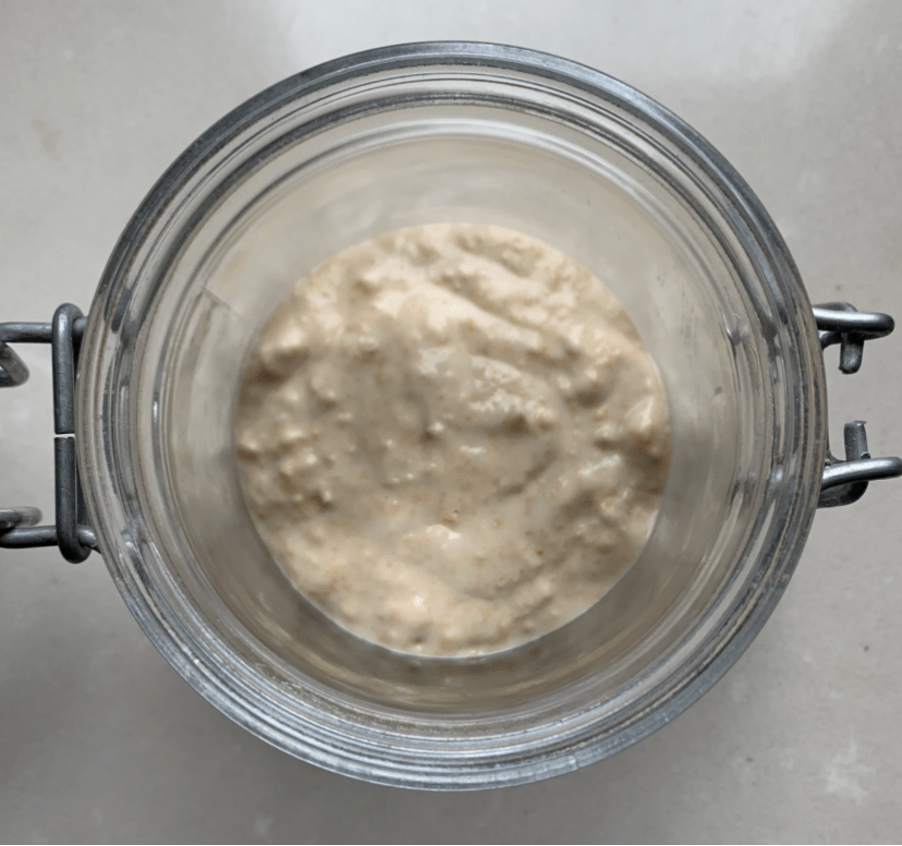
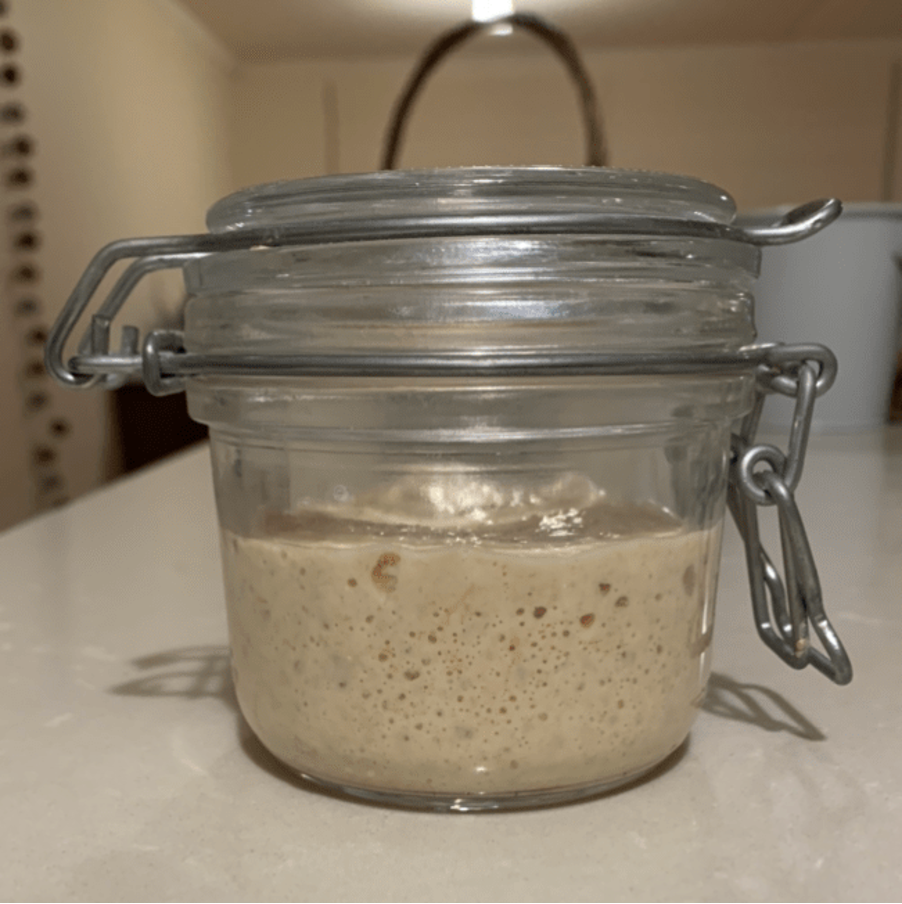
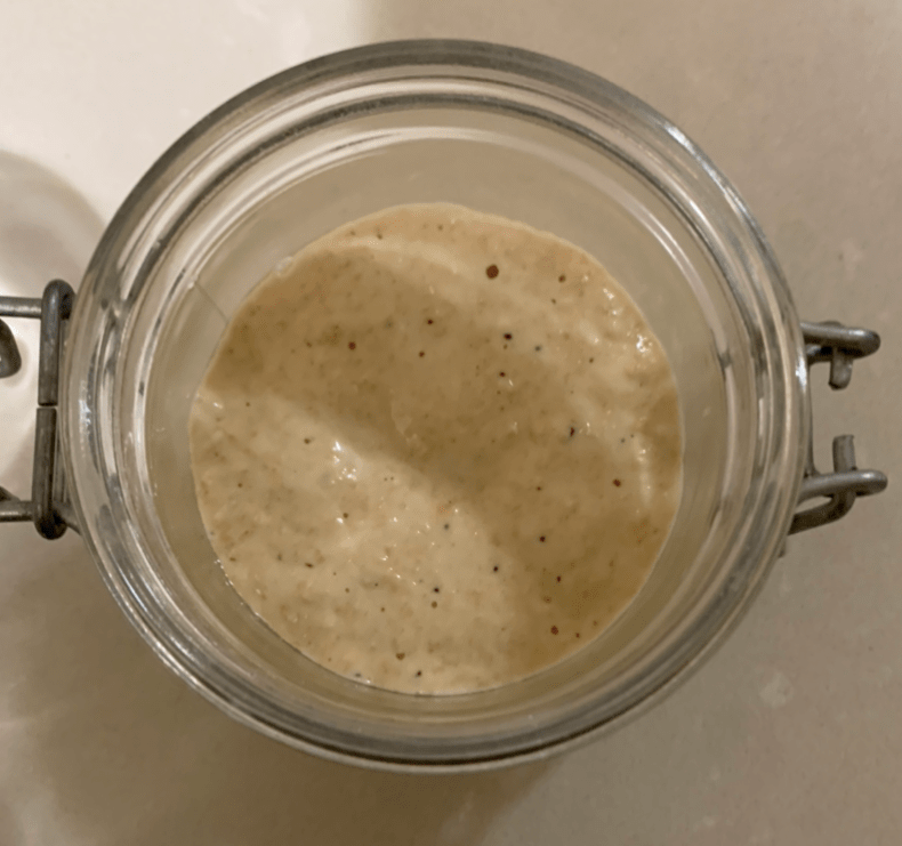
Sourdough is a science. You will need a set of kitchen scales as you will find that all the recipes use grams of water, which is not commonly seen when cooking, but don’t be tempted to guess or use millilitres. The proportion of water to flour is important, especially when making and feeding your starter. It needs to be the same. The pictures below are of a starter that has just been fed (left two) and one that has been fed and allowed to become active over a few hours (right two). Note the bubbles in the active starter, this indicates that the starter is ready to be used.
Feeding and storing your starter:
If you are baking loaves regularly, keep your starter at room temperature and feed it daily by adding equal parts flour and water. I usually add 15g of each. Once it is bubbling nicely it is ready to be used. Another way to test its readiness is to place a small spoonful into a glass of water and if it floats, you’re good to go.
You only need to keep about 1/4 cup of starter at any one time unless you are planning on making multiple loaves at once. Sourdough bakeries will keep litres on hand but this is not at all needed for the home baker. If you are storing your starter at room temperature and feeding regularly, you will need to discard some starter each time you feed it, unless you are baking a loaf. Discarding half will be adequate.
If you only bake one loaf per week, you can store your starter in the fridge in a glass jar. It will then need the time to warm back to room temperature and be fed before using it and then fed again before placing back into the fridge. You may find if you store the starter the fridge that after a few days a vinegary smelling liquid forms on top. This is normal, just pour this off and feed the starter again.
Over the years I have made an array of loaves, including, wholegrain, wholemeal spelt, fig and walnut, fruit sourdough, olive sourdough, but my regular go to is a wholemeal loaf, detailed below.
Enjoy xx.

Olive sourdough bread
Pre-ferment/Levain
50g wholemeal flour
50g water
30g starter that has been recently fed and is active (bubbly)
Place all ingredients in a large bowl and mix well to combine, cover and allow to sit at room temperature for 8+ hours. The picture below is what the levain should look like after 8 hours, smooth, sticky and starting to bubble.

Levain after 8 hours
Bulk Ferment
300g wholemeal flour
200g white baker’s flour
375g water
15g salt
Add all ingredients to the levain, which has been sitting for at least 8 hours and is now starting to bubble. Mix well, cover and leave to sit for 1 hour.
After one hour, use a wet hand to loosen the dough from the bowl and grab the right side of the dough and fold it into the middle, then fold the left side into the middle, the top side into the middle and the bottom side into the middle. Lift the whole loaf and flip it over. Cover the bowl and leave to sit for another 2 hours. To see a video of how this fold it to be carried out, there is a video with the whole sourdough process on my instagram account @whatspruecooking.
Over the next 2 hours, every 30 minutes, repeat the same fold.

Shaping the dough
After 2 hours, scoop the dough from the bowl and place onto a lightly floured surface. Grab one side of the dough and fold it into the middle, work your way around the dough until you have formed a rough ball then flip the loaf over.
With floured hands, cup the dough where it meets the bench and turn the loaf to form a nice ball shape. The dough may start to slightly stick to the bench here, this is ok as the aim is to create some surface tension, which is essential to shaping the dough.
Place the bowl upside down over the shaped loaf and leave to rest for 30 minutes.
While the dough is resting, prepare your brotformen (sourdough proving basket – see picture below) by sprinkling it with plenty of flour, getting into all the grooves. If you don’t have a brotformen, line a medium sized bowl with a tea towel and sprinkle and rub at least 1/4 cup of flour into it.
To carry out the final shaping, flour your hands, scoop the dough and flip it back over. Repeat the same fold as in step 1 and 2, except when you are turning the loaf to form the ball make sure there is not too much flour where you are working as the formation of surface tension is essential for keeping the shape of the dough and sealing it.
Once you have formed a nice tight ball, invert the dough into the prepared proving basket (ie. the side of the dough that was on the bench when you are forming the ball is now facing up).
Cover the dough with cling wrap and place in the fridge overnight or for at least 6-8 hours.
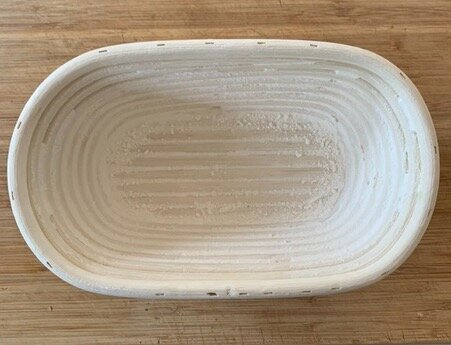
Brotformen - sourdough proving basket
Baking the dough
Remove the dough from the fridge and allow it to come to room temperature, 30-45 minutes.
Place a large crockpot, with a lid, that will fit your loaf in it into the oven and heat the oven to 240°C.
Flip the dough out of the proving basket and onto a piece of baking paper. The top of the dough should be covered with flour from the proving basket. Using a sharp knife, score the top of the dough. This will allow the steam to escape and for the loaf to rise. Without scoring the dough, the loaf will blow out the side while baking. The score can be 2 lines down the centre of the loaf, a square or a criss cross pattern – there’s no wrong or right.
Carefully remove the crockpot from the oven and take the lid off. Lift and lower the dough and baking paper into the pot and replace the lid. Return the pot to the oven and bake for 25-30 minutes.
After 25-30 minutes, remove the lid from the crockpot and if the loaf has risen nicely then return to the oven, without the lid, lower the oven temperature to 220°C and bake for a further 10-15 minutes or until the loaf has a nice golden brown colour. If the loaf has not yet risen, return the lid to the pot and cook for a further 5 minutes before removing the lid.
Once cooked, remove from the oven and allow to cool for at least 1 hour before slice, if you can resist it. The loaf should sound hollow when tapped.
Enjoy with a generous slather of butter!

Fresh from the oven
Timeline for baking a loaf:
To bake a loaf on Saturday:
Thursday night – take your starter out of the fridge and feed it.
Friday morning – Make your pre-ferment or levain and leave to sit for 8+ hours.
Friday afternoon/evening – Do your bulk ferment, folding the loaf every 30-40 minutes for 3 hours.
Friday night – Place the loaf into a proving basket/tea towel lined bowl and allow to prove in the refrigerator overnight.
Saturday morning – remove the loaf from the fridge and allow 45 minutes for it to come to room temperature and bake the loaf.
When I am making my sourdough loaves, I will usually do the bulk ferment between 6-9pm. This has often resulted in me giving the loaves a couple of folds and then once the kids are in bed, sitting on the couch with a cup of tea or glass of wine or folding the washing and then 2 hours later realising I haven’t folded it again. In these instances, the bread has still worked and is still tasty but isn’t as amazing as one that has been given all the TLC a loaf of sourdough needs.